Learn How to Become a Master Retoucher Here: https://phlearn.com/rtfreqyt
Download our free frequency separation action here: https://phlearn.com/amazing-power-frequency-separation-retouching-photoshop
What is Frequency Separation?
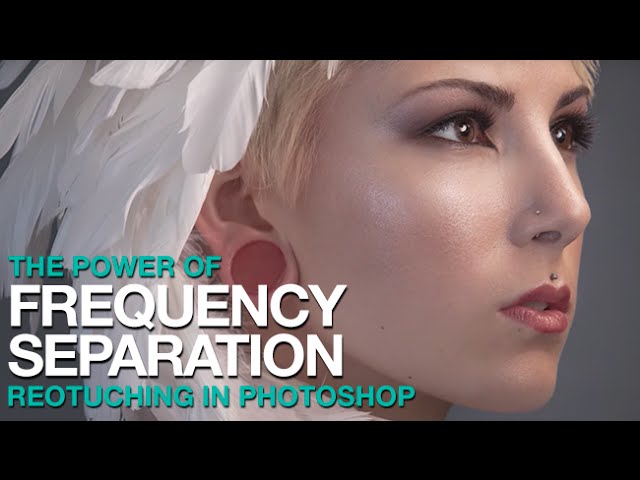
Frequency separation helps make retouching a portrait easier in Photoshop. Frequency separation works because it allows you to separate the texture of an image from the tone and color. When retouching you can focus on just the texture or the skin beneath it.
It sounds quite complex but in practice it is quite simple. If you want to work with texture, choose the high frequency layer, if you want to work with skin choose the low frequency layer.
Getting Started with Frequency Separation
To get your image set up for frequency separation you will have to make 2 copies of your background layer. If you are not starting from the beginning, add a Stamp Visible layer over all layers by typing CTRL+ALT+OPTN+E. One of these copies will be for your low frequency (skin) and one will be for your high frequency (texture).
First apply a Gaussian Blur to the lower (low frequency) layer. Choose a radius that blurs out the skin texture, but don’t go too far as to make the face unrecognizable.
Next choose your high frequency layer and go to Image, Apply Image. Here you will want to se the Layer: to the low frequency layer. For blending choose Subtract and for Scale:2, Offset:128. These will be your settings every time, no need to change them.
Now you should have one layer with a blur (low frequency) and a layer above it that looks mostly gray (high frequency). Select the high frequency layer and change the blending mode to “Linear Light”.
Your image should now look identical to the image before you started the process.
Correcting Underlying Color
To correct the underlying color (skin) choose an area with the lasso tool. I suggest feathering the selection to make it look more realistic. Use Q for Quick Mask as a quick way to see what your selection looks like. After you have made your selection choose the low frequency (blurred) layer and apply a Gaussian Blur in the selection. Choose a radius high enough to blend the tones together.
Repeat this process over different areas of the portrait to smooth the skin tones. Because the texture is on a different layer, it should stay in tact during this entire process.
Correcting Texture
If you need to correct texture, we recommend waiting until after you do the tone. Select the high frequency layer and choose the Clone Stamp Tool. In the Clone Stamp Tool settings be sure to hit Sample: Current Layer. This will make sure you are just using the texture and not sampling anything else. Then on your high frequency layer sample good skin texture using ALT and then paint over “bad” skin texture. This will work very well for stray hairs, acne, wrinkles and other small blemishes.
Free Frequency Separation Action
If you want to skip making your own frequency separation layers be sure to download our Frequency Separation Retouching Photoshop Action. It is designed for use in Photoshop CC.
VISIT PHLEARN.COM FOR MORE FREE TUTORIALS
SUBSCRIBE TO OUR CHANNEL FOR MORE FREE TIPS AND TRICKS
http://www.youtube.com/subscription_center?add_user=phlearnllc
GET FREE TUTORIALS IN YOUR EMAIL + DISCOUNTS ON OUR PRO TUTORIALS!
https://phlearn.com/mail
BUY THE TABLET AARON USES! https://phlearn.com/tablet
LET’S BE FRIENDS!
Instagram ► https://www.instagram.com/phlearn/
Facebook ► https://facebook.com/phlearn
Twitter ► https://twitter.com/phlearn
Google+ ► https://plus.google.com/116791098059215639405
Phlearn ► https://phlearn.com
————————————————————————————————————
Download the Frequency Separation Brush here: https://phlearn.com/amazing-power-frequency-separation-retouching-photoshop
Comments
comments
