Our #1 PRO Tutorial ever is now on Sale! https://phlearn.com/rtyoutube
How to Make a 3D Extrusion in Photoshop
Prepare Your Images
Start by dragging your logo (or the subject you want to make 3D) onto your image. Then, go to ‘Window – 3D’ to open the 3D workspace. It’s important that your subject is on a transparent background, as this technique will extrude the entire layer.
In the 3D tab of the workspace, choose “Selected Layer(s)” as your source. Select “3D Extrusion” in the bullet list below that, and then hit “Create.”
Working in 3D
Now in 3D View, you should see grid lines around your subject. Go to ‘View – Show’ and make sure 3D Ground Plane, 3D Lights, 3D Selection, and UV Overlay are all selected.
With the Logo layer selected, there are a variety of 3D tools that you can now use: Rotate, Roll, Drag, Slide, and Scale. Rotate allows you to rotate the subject around in all directions in 3 dimensional space. Roll spins the subject around the Z axis. Drag lets you position the subject around the 3D space. Slide zooms the subject closer and farther away from you on the Z axis. And Scale adjusts the size of the subject.
If you click on the Infinite Light option in the 3D tab, you can manipulate the light source as well to change the lighting cast on the subject.
Clicking on the Current View option allows you to adjust the angle you are viewing the subject in.
Properties
In the Properties tab, use the slider to change the extrusion depth – in this case, we want it to be relatively thin. We can also look at shape presets here, which add some 3D detail to the subject. We chose the first one on the second row here.
From the icons on the top of the Properties window, select “Coordinates”. Another way to move and rotate your subject is by changing the number values here. Feel free to explore with this.
In 3D, click “Environment” and return to Properties. You can play around with your subject’s Shadow qualities here.
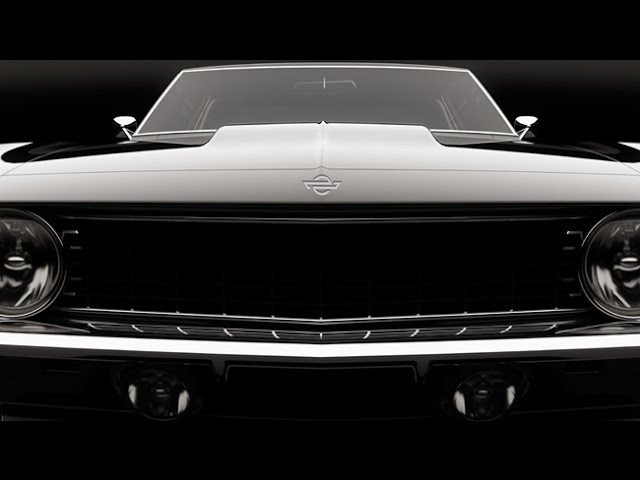
Lying the Logo on the Car Hood
With the Logo layer selected, hop in to Properties and adjust the number values for the X axis to lay the logo on its back. A value of 90 should work. Tap “Move To Ground” if your subject is floating above the grid.
Now that the subject and its shadow are in the right place on the ‘ground’, we simply need to move our camera view until the subject looks like its lying on the car.
Go back to the 3D tab and choose Current View. Click on Properties with Current View selected, and you can adjust the rotation of the current view until it looks just right.
Finishing Touches
Now that you have the tools, you can work on the Lighting and Shadows of the subject until it blends in with the image. Here, the goal is to look pretty realistic.
When you are satisfied with the look, go the ‘3D – Render 3D Layer’, and Photoshop will work to analyze the environment of the object and adjust lighting and details to make the subject fit in as well as possible.
After the wait, you are all set!
VISIT PHLEARN.COM FOR MORE FREE TUTORIALS
SUBSCRIBE TO OUR CHANNEL FOR MORE FREE TIPS AND TRICKS
http://www.youtube.com/subscription_center?add_user=phlearnllc
GET FREE TUTORIALS IN YOUR EMAIL + DISCOUNTS ON OUR PRO TUTORIALS!
https://phlearn.com/mail
BUY THE TABLET AARON USES! https://phlearn.com/tablet
LET’S BE FRIENDS!
Instagram ► https://www.instagram.com/phlearn/
Facebook ► https://facebook.com/phlearn
Twitter ► https://twitter.com/phlearn
Google+ ► https://plus.google.com/116791098059215639405
Phlearn ► https://phlearn.com
Comments
comments
