Check out another of my videos: “BREAKDOWN: Select and Mask vs. Refine Edge – Photoshop CC”
-~-~~-~~~-~~-~-
Pick up my advanced Photoshop tutorial package ($21) right here: http://bit.ly/support-tutvid-2
Find the written tutorial here: http://tutvid.com/photoshop-tutorials/15-steps-to-mastering-vanishing-point-in-photoshop-cc/
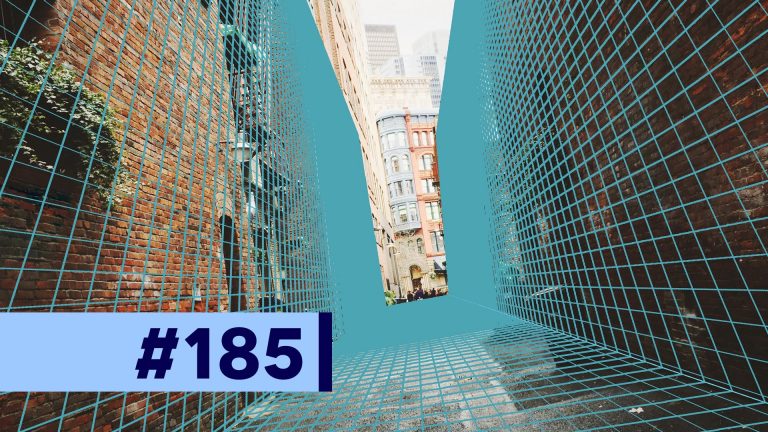
Vanishing Point in Photoshop is an amazing set of tools that allows us to determine the perspective of an image and then build a more complex set of perspective grids from our initial grid to then be able to retouch surfaces in perspective. We’ve got lots of brick in the image that I’m using in this tutorial and we can clone brick that is “closer” to us and use it to correct brick that is “further away” and Vanishing Point will ensure everything is in proper perspective (as long as we made an accurate grid!) and looking great.
Alley Image: https://unsplash.com/photos/bIQiMWxX_WU
VIDEO GUIDE:
00:31 How to draw planes
02:30 Create additional grids
03:09 Edit a new or old plane
04:02 Tear off new plane (extend the grid)
05:24 Select overlapping grids
06:03 Change angle of perspective grid
07:26 Clone stamp in perspective
10:11 Selections and moving in perspective
15:36 Paste in outside graphics
17:03 Selections across multiple planes
17:52 Render grids
19:14 Measurements
21:52 Render measurements or return 3D layer to Photoshop
22:30 Export 3D assets
23:05 Menu glitch fix/workaround
SNAPCHAT & MORE:
http://instagram.com/tutvid
Tweets by tutvid
https://www.facebook.com/tutvid
? tutvid.com