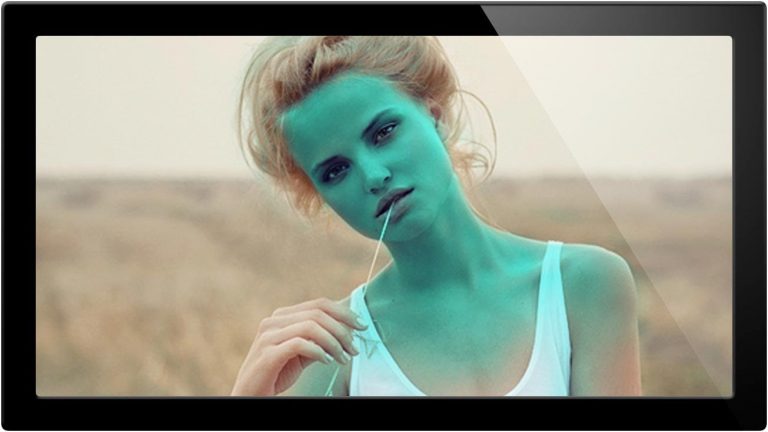
Check out the full post at: http://phlearn.com/unlocking-the-mystery-of-adjustment-layers-in-photoshop
Which Adjustment Layer is Best?
The right one for the job of course. Knowing what that is can be a headache however. Today we are going through the rest of the Adjustment Layers, and showing you which ones should be used in what circumstances. You will be able to make your images much better in less time by knowing the right layer to grab.
For Curves and Levels, check out yesterday’s episode: The Secret Behind Levels VS Curves in Photoshop
Today’s Episode Timeline
0:30 – Intro to all the adjustment layers
1:10 – Using the Hue/Sat adj layer
2:40 – One of the best uses for Hue/Sat
4:00 – Showing how Selective Color is amazing for skin
6:20 – Learn how to make great cross tones
7:30 – Why Vibrance is better than Saturation
9:20 – Color Balance is for finishing images off
11:10 – Fun with Photo Filter
12:30 – Using a Gradient Map to Color Your Image
13:40 – Extreme Power with the Channel Mixer
17:30 – Showing Color Depth vs Hue/Sat
18:30 – Everything Else!
Hue/Sat
This is a great layer to use if you want to make crude color changes, something like turning a green car into a blue car. It is not the best tool for skin, because it tends to flatten everything out, and produce a less deep image.
If you do need to color something that is not saturated, click on the colorize button, and you are good to go. You will likely have to add colors to the highlights and the shadows to give your object depth.
Selective Color
This is one of my favorites. It is the perfect tool to adjust skin tone, providing you want your skin to look like skin. This is not the tool to use if you are trying to make a person’s skin blue, but if you are adjusting subtleties, there is none better.
It will also create stunning cross process images very easily, as I show in this episode
Color Balance
A great way to finish off an image. Adding a bit of color to the midtones and highlights can draw some attention to your image in a great way, as long as you keep it subtle.
Color Balance Tip: Stay away from the shadows slider, most of the time it will make your image look worse.
Vibrance
A great way to add some POP to your image without going overboard. This tool does a great job at keeping mid tones and skin tones in place. Compare this to Saturation, and you will like the results much better!
Channel Mixer
The Big Boy! Using the channel mixer is very hard, so don’t worry if it doesn’t come naturally to you. It is the perfect tool for some dramatic black and white images.
When you are using the Channel Mixer with colors, it will allow you to greatly alter your image, which can be a really good thing, as long as you keep it under control. Too much, and you will wind up with something crazy.
Photo Filter
This thing is just fun. Choose what color cast you want on your image, and how strong you want it, couldn’t be easier!
Gradient Map
The Gradient Map will completely colorize your image, allowing you to choose which colors make up the highlights/midtones/shadows and everything in between. .
Website: http://phlearn.com/
Facebook: https://www.facebook.com/Phlearn
Twitter: https://twitter.com/aknacer
Google+: https://plus.google.com/105267656376269695918/posts
For more tutorials and how to videos check out our extensive Photoshop and photography video channel: http://www.youtube.com/user/PhlearnLLC
We cover everything from Photoshop tutorials, photography tutorials, how to videos and more!