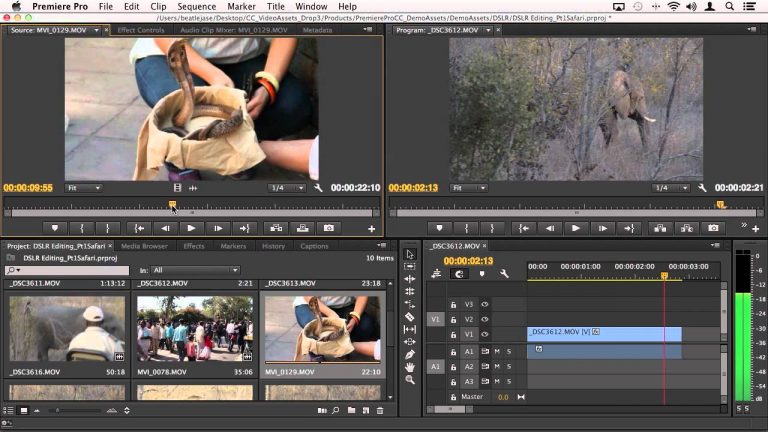
In this updated video for Adobe Premiere Pro CC (Part 1 of 3), Principal Worldwide Evangelist Jason Levine walks you through the basics of importing footage from your DSLR directly into Adobe Premiere Pro, selecting clips, setting In/Out points, and building a sequence. Work with multiple formats/frame rates/frame sizes, all simultaneously, and learn how the Adobe Mercury Playback Engine can be modified to optimize playback performance, no matter what kind of machine you’re editing on.