Graphic Stock 7 Day Free Trial:
http://graphicstock.com/x/KriscoartProductions_0616
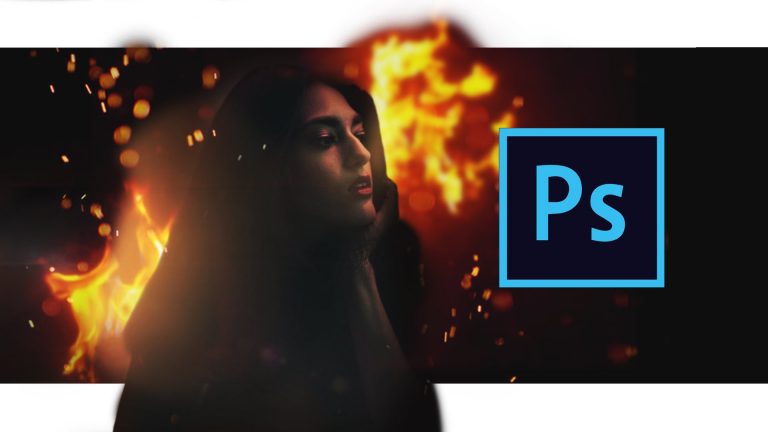
Today we add some realistic flames to a photo with some stock clips and some simple adjustments.
Elements used:
Lens Flare: https://goo.gl/W2Mnk2
Fire element#1: https://goo.gl/z1a911
Fire element#2: https://goo.gl/YgEKJi
Model: Maria Garcia
Follow her on IG: @mariigaabz
▶T-SHIRTS & APPAREL: https://goo.gl/m1lTq3
▶MY INSTAGRAM: http://instagram.com/kriscoart
▶FOLLOW ME ON TWITTER: https://twitter.com/kriscoart
▶MY FACEBOOK: www.facebook.com/kriscoartproductions
▶MY SNAPCHAT: @kriscoart
TRANSCRIPT
welcome to the very first Photoshop tutorial of this channel. We are starting off simple with some basic compositing techniques. We will take a look at this picture here to explore how you can easily add some realistic flames with a few stock photos and some easy adjustments.
Before we jump into the tutorial I wanted to thank Graphic Stock for sponsoring this photoshop tutorial.
What I like to do first usually is crop my image to the dimensions and ratio I want my composition to be. This helps me when deciding where to place certain items and making sure that they visually work.
When cropping you get these nice rule of thirds lines that can be useful guides for creating a nice composition. You can have your subject’s eyes fall where the top right lines intersect.. or not. Its completely up to you.
Next I’ll duplicate the image with cmd+J just to keep an original version of the picture untouched. I’m going to use the dodge tool to highlight the side of her face closer to the source of light to further emphasize our subject.
I’m not going to spend too much time on grading but just to get a quick idea we can add a Curves adjustment and tweak a little bit of the colors. This image was shot in S-Log2 which is a very flat format that allows me to make slightly more dramatic color adjustments.
I want to show you a way that I create fake light hits and glow effects that can add more interest to some light sources. You can paint a circle with a large brush of a color that matches somewhat the source of that light. Then you can scale it and transform it by hitting Cmd+T and finally you can adjust the opacity of these light hits and you can make them fit more in the scene by changing the blending options for those layers.
The reason why I’m showing you this is because we will use this very same technique to create some orange glow around the fire elements that we are going to add.
So this image has a black background which means that we can set it to screen in order to just have the flame.
You can cut out your subject and have these fire elements behind that cut out but you can also add a layer mask and paint out the fire to make it seem behind her.
Now we can add a little bit of glow to the fire just as we did before. So we’ll create an orange halo and paint out some parts to shape it more around the fire.
We can repeat the process for the second fire image as well. Masking out any portion over our subject.
Finally you can add a lens flare. You can add some hue and saturation adjustments to match the flare color with the fire. You can erase and blend in the edges of the image. You add some fire embers in a similar way.
Moving on, now we can add the right amount of blur to each layer to match the scene’s depth of field.
Once we are happy with our image we can create a group by clicking on the folder icon, then we can select all our layer and dump them in that group.
Now that we have organized our elements in one place, we can duplicate that folder by hitting cmd+J and then rastarazing the group by hitting cmd+E.
Now that we have a duplicate image of our composition we add a distortion effect that can act as heat distortion coming from the flames. So for that we will go to Filter – Filter Gallery.
Then under distort we will pick Glass and you can experiment and play with these values to see what works best for your scene. These were my settings. Click OK and now that we have the effect applied, we can add a mask layer. Click cmd+i to invert the color of the matte layer so that we can paint the heat distortion effect back in with a white brush.
There is so much more you can do with this image but many more integration techniques will be coming up in the next photoshop tutorials. This week on the channel we talked about the lighting behind some of the photo-shoots that you can find on my instagram so I thought it would be cool to venture in the post side of photography and make some photoshop tutorials.
My name is Kris Truini for Kriscoart Productions and I’ll see you next week.
Subscribe to my Second Channel and check it out!
https://www.youtube.com/krisatruini
Edited in Premiere CC
For business inquiries please contact me here:
kriscoartproductions@gmail.com
Thank you for watching