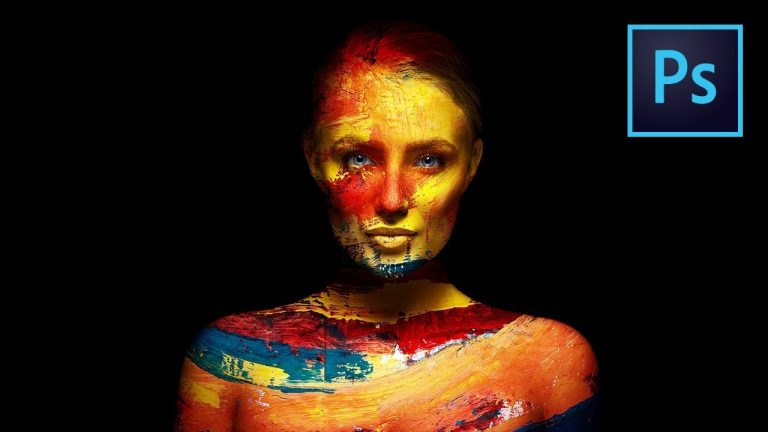
Apply Highly Realistic Paints and Texture to Portraits in Photoshop! Learn how to manually mold the texture according to the shape of the portrait and use advanced blend modes and blend-if to blend in the colors in the most natural fashion. In this tutorial, we will also learn how to dodge and burn to add more dimension and make your creative portrait really pop.
We will start off by preparing the texture for the application. Then we will use Liquify to manually mold the texture around the skin. During this time, we will learn several techniques to set the color or the texture to match with the bumps of the portrait.
Then, using multiple different blend modes, we will not only apply it realistically but also additionally dodge and burn to add depth and dimension. At the end, we will also learn how to sharpen the texture and a cool little trick to make the iris of the eye pop!
Hope this tutorial helps. Thank you for watching!
► MY VIDEO GEAR:
Camera: http://piximp.com/80D
Microphone: http://piximp.com/mic
Lens: http://piximp.com/50mm
Memory Card: http://piximp.com/sandisk64
► DOWNLOADS
1. Sample Images: https://goo.gl/bPRHhf
2. Finished PSD: https://goo.gl/zZ5ekC (Only for our Patreon Family)
►TUTORIAL LINKS:
Pen Tool: https://youtu.be/5kAQUNFZJXY
Displacement Maps: https://youtu.be/Xg7NvUv4o0c
Best Way to Select Hair: https://youtu.be/T2D8EIh9Gus
► HELP US CREATE MORE FREE VIDEOS:
Support us at Patreon: https://www.patreon.com/piximperfect
► SHARE: https://goo.gl/IUhnUl
►LET’S CONNECT:
Facebook: http://facebook.com/piximperfect
Twitter: https://twitter.com/piximperfect
Instagram: https://www.instagram.com/piximperfect
Google+: https://plus.google.com/+UnmeshDinda