Check out another of my videos: “BREAKDOWN: Select and Mask vs. Refine Edge – Photoshop CC”
-~-~~-~~~-~~-~-
Written tutorial and downloadable files are HERE: http://tutvid.com/photoshop/how-to-create-avengers-style-text-in-photoshop/
VIDEO GUIDE:
=====================================
=============ILLUSTRATOR============
=====================================
0:00 Intro.
0:52 Download files.
2:10 Start in Adobe Illustrator.
4:15 Tweaking the text in Illustrator.
8:49 Pathfinder to round the text.
9:48 Fixing the “E” & “G” letters.
11:33 Create the “A”.
14:31 Circle around the “A”.
21:23 Creating the stone/metal edge shape.
24:46 Tweaking the little things.
27:56 Using artboards.
29:29 Export the EPS file.
=====================================
=============PHOTOSHOP=============
=====================================
30:42 Get started in Photoshop.
32:15 Layer styles for edge base.
34:57 Red gradient for the text.
35:58 Add bevel & emboss effect.
38:04 Stroke and multiple inner shadows.
41:28 Add a second bevel & emboss.
44:45 Adding inner highlights.
46:26 Adding fine highlights.
49:29 Applying the first texture.
53:25 Apply the metal texture.
57:00 Apply the cracks.
1:01:24 Apply some grunge.
1:03:16 Apply fine scratches.
1:06:44 Dings and scratches for the edges of the text.
1:11:48 Surface scratch effect.
1:14:31 Creating the shadow for the scratches.
1:16:48 Burning in the base of the text.
1:18:09 Applying the splatter.
1:24:38 Final contrast adjustments with an adjustment layer.
1:26:40 Adding complimentary text.
1:28:50 Add a background.
1:29:50 BONUS tip!
INSTAGRAM & MORE:
http://instagram.com/tutvid
Tweets by tutvid
https://www.facebook.com/tutvid
DESCRIPTION:
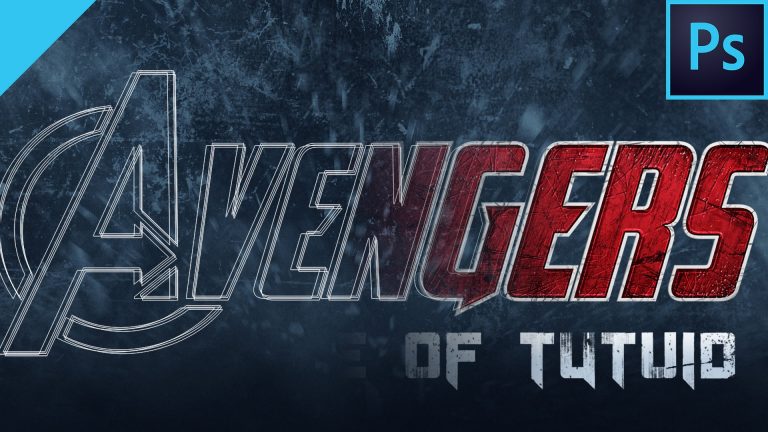
In this tutorial we’ll use Adobe Illustrator and Adobe Photoshop to create the best version of the Avengers text that is out there on the web today. It’s long and it’s detailed, but it’s so much fun and you’ll pick up some many tips and tricks along the way! Download the files and follow along with this tutorial today!