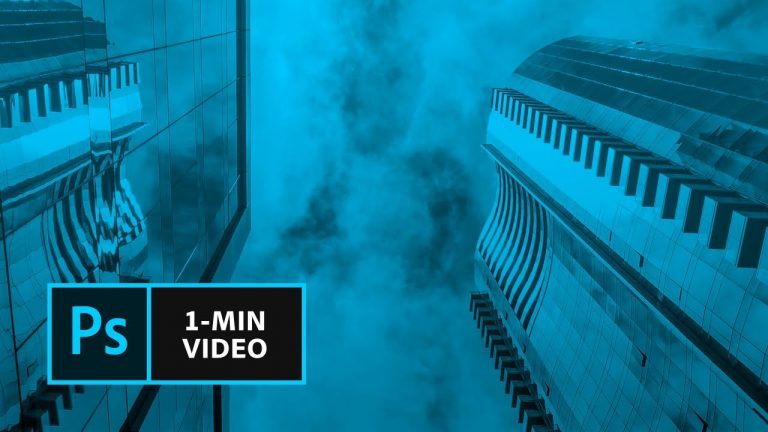
Learn how to make your photos come to life.
Start from scratch, or download practice files
[https://learndownload.adobe.com/pub/learn/photoshop/parallax_effect.zip] then proceed to following the steps below.
Prep your project:
1. Open parallax_effect.psd in Photoshop.
2. In the Layers panel, hide the Sky layer and click the Buildings layer to select it.
3. Select the Quick Selection tool. Set your brush to the following:
– Size: 10px
– Hardness: 100%
– Spacing: 1%
4. Delete the sky: Click and drag from the upper right corner until the entire sky is selected. Press Delete.
5. Click the Sky layer to select it, then unhide it. Hide the Buildings layer.
6. Select the buildings: Select the Lasso tool and drag around the buildings to select them.
Tip: Drag outside the edges of the buildings, then drag in the sky close to the buildings until you complete the selection.
7. Select Edit – Fill. Choose Content Aware, and click OK. Click outside the area to deselect the Lasso tool selection and select the Move tool.
8. In the Layers panel, right click the Sky layer and select Convert to Smart Object.
9. Select the Buildings layer, unhide it, right click and select Convert to Smart Object.
10. Select Edit – Transform – Scale and drag the corners to make the buildings layer a little larger, then press Return (or Enter).
Set it in motion:
1. Select Window – Timeline. Click Create Video Timeline.
2. Zoom in on the buildings: Expand the Buildings layer in the timeline, click the “Enable keyframe animation” icon next to Transform to create a keyframe. Then, move the playhead to the end of the timeline and scale the Buildings (Edit – Transform) back to their original size. This automatically creates a keyframe.
3. Make the clouds move: Move the playhead to the beginning of the timeline. Expand the Sky layer in the timeline and create a keyframe. Then, move the playhead to the end of the timeline and move the sky directly up. This automatically creates a keyframe.
4. Preview the effect: Press the Play button in the timeline to view the effect. Adjust as necessary.
5. Export the video: Click the Render View button at the bottom of the timeline. Choose the export location, size, quality, format, and other render settings as needed, then click Render.
Note: You can also accept the default render output settings.
That’s it!
Visit our Photoshop Tutorials page to learn more: https://adobe.ly/2wmhivZ
Subscribe: https://www.youtube.com/user/adobecreativecloud?sub_confirmation=1
LET’S CONNECT
Facebook: http://facebook.com/adobecreativecloud
Twitter: http://twitter.com/creativecloud
Instagram: http://www.instagram.com/adobecreativecloud/
Adobe Creative Cloud gives you the world’s best creative apps so you can turn your brightest ideas into your greatest work across your desktop and mobile devices.