Cutting The Subject out from Green Screen
Shooting on a green screen is a great idea if you know you are going to cut your subject out of the background. In this episode we show you how to select the green color range and define a layer mask with the selection. This technique will allow you to cut your subject out from the background quickly and accurately.
After getting the subject cut out from the background we show you how to remove the green fringing from areas like the hair and edges of the subject.
Adding Style
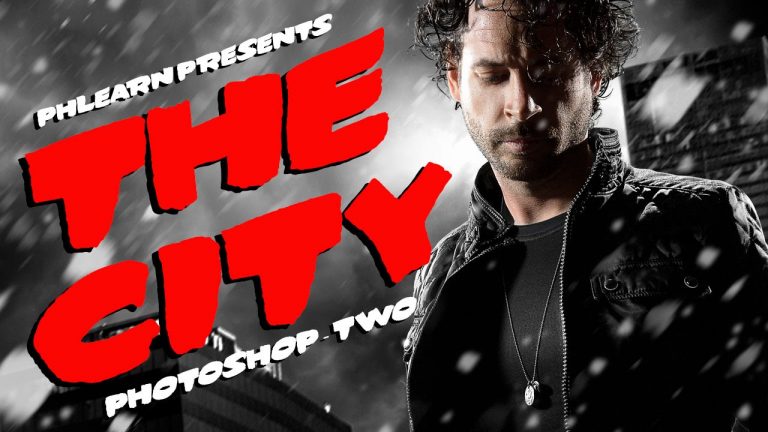
After placing the subject in the image it is time to add some style. In the case of Sin City, we are looking a high contrast and low saturation. This means making the highlights lighter and the darks darker. We show you how to use curves adjustment layers and clipping masks to isolate the highlights and push them to make them brighter. You will also learn how to add sharpening to the subject, helping him stand out from the background.
Adding Fog Effects
A big part of making composite images come together has to do with layering effects over objects. In this image for instance we place fog over the subject, helping the subject look as though they are a part of the image, not just placed on top of it.
To add the fog to the image we duplicate the background clouds layer and change the blending mode to Screen. Then we apply levels to make the darks darker, making them disappear, leaving only the lights behind.
Creating the Title
To finish the image we need to add a title, just like the original movie poster. We show you how to choose the right font for your project and how to transform it into the correct position and perspective. We add layer effects to separate the text from the background.
Creating a Custom Brush for Snow
If you have ever wanted to create snow or rain in an image, it is as easy as creating a custom brush in Photoshop. In this episode we show you how to create random shapes on a new document and turn them into a Brush Preset. From there you will learn how to alter the settings of the brush to add random patterns, making it look more like snow.
Episodes on cutting out subject: http://phlearn.com/?s=How+to+cut+out+subject
———————————————————————————————
Thanks for watching our free Phlearn Tutorials! If you enjoyed this video be sure to subscribe to our channel to receive free weekly videos.
Subscribe: http://goo.gl/LBIEQU
For more advanced Photoshop Tutorials be sure to check out our Phlearn PRO Tutorials. We offer the best Photoshop tutorials available online starting at just $14.99.
http://phlearn.com/pro-tutorials
———————————————————————————————–
Website: http://phlearn.com
Facebook: https://www.facebook.com/Phlearn
Google+: https://plus.google.com/u/0/116791098…