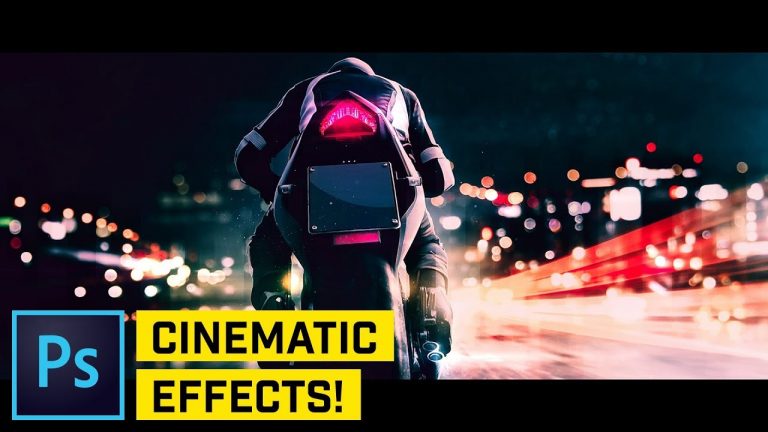
CREATE THIS CINEMATIC EFFECT IN MINUTES! | Learn the principles that come into play for using Curves, Selective Color, High Pass, and some well placed flares to make any photo look a little more cinematic.
? DISCORD: http://discord.me/tutvid
? My Instagram: http://instagram.com/tutvid
? Buy the Photoshop Course and Support the Channel → http://bit.ly/28NuwFy
? Subscribe for Daily Tutorials → https://goo.gl/DN4Nln
–
In this Photoshop tutorial, we’ll break down the process needed to create a cool, cinematic image in Photoshop. We’ll use Camera RAW and its powerful HSL options, Curves and break it down by color channel, we’ll add a midtone punchiness with High Pass adjustments, an 8-bit style contrast and blur effect and some lesser-known Blend If and Layer Shaping options in the Layer Style dialog box. If you’re into photography and you want to add an element of cinema to your imagery, this is the tutorial for you! Of course, the beauty of this effect is that you’re more than welcome to stop at any point throughout the process and have a great image that you love at that point.
⚡️ written tutorial here: http://bit.ly/2Jbw5AK
INSTAGRAM: http://instagram.com/tutvid
TWITTER: http://twitter.com/tutvid
FACEBOOK: https://www.facebook.com/tutvid
tutvid is a YouTube channel dedicated to creating the best Adobe Photoshop, Premiere Pro, Lightroom, and Illustrator tutorials. My goal is to create the best, most informative, and entertaining tutorials on the web. If you enjoy my videos, the best way to support what I do here is to purchase my course linked above or simply subscribe to the YouTube channel by pressing the red button.
✉️ business inquiries: nate@tutvid.com
–