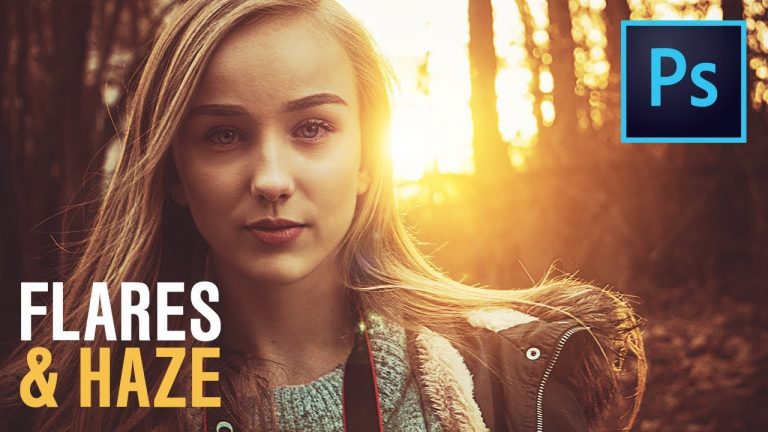
Highly Customizable Method to Add Amazing Light Flares and Haze to Your Images in Photoshop! Using the power of Gradient Maps and Gradient Fill, learn how to bring out the mood and drama in your image by not just adding flares, but also getting the image to match the flares. Also, we’ll learn how to use Curves to add a cherry to the cake!
We will start off by creating a radial gradient as the base for the flare, then position it and make it realistic by using blend modes and an extra layer of curves. Then, we will use curves and gradient maps to get out image match with the light structure of the flare. Hope this tutorial helps you. Thank you so much for watching!
► MY VIDEO GEAR:
Camera: http://piximp.com/80D
Microphone: http://piximp.com/mic
Lens: http://piximp.com/50mm
Memory Card: http://piximp.com/sandisk64
NOTE: If you wish to support this channel, please use these links to buy anything from Amazon. You don’t have to pay extra. Amazon will pay us a small percentage of your purchase which will mean the world to me and will help keep PiXimperfect free for everyone, forever.
► DOWNLOADS:
1. Sample Image: https://goo.gl/2HK4rt
2. Finished PSDs: https://goo.gl/7Qh498 (Only for our Patreon Family)
PiXimperfect is free, and will always be.
► SUPPORT the cause: https://www.patreon.com/piximperfect
► SHARE: https://goo.gl/IUhnUl
►LET’S CONNECT:
Facebook: http://facebook.com/piximperfect
Twitter: https://twitter.com/piximperfect
Instagram: https://www.instagram.com/piximperfect
Google+: https://plus.google.com/+UnmeshDinda