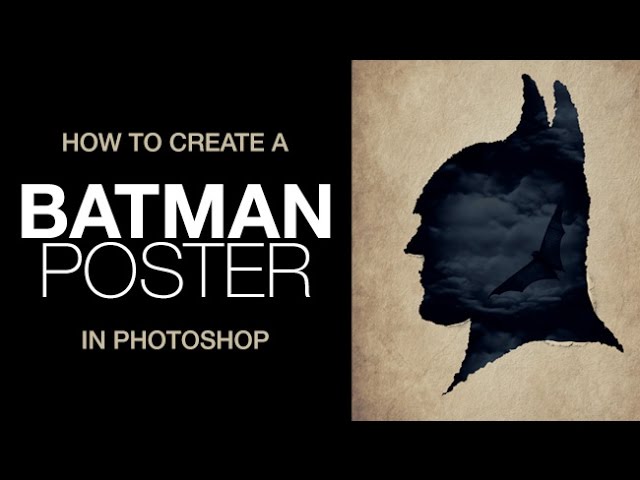
How to Create a Batman Poster in Photoshop
Learn how to create a ripped paper silhouette Batman poster in today’s episode!
How to Create the Ripped Paper Effect
To create a ripped paper effect, first, you will need a silhouette image on a white background. Make sure the silhouette and the background are on the same layer – the filter gallery needs the contrast between black and white to create the ripped paper effect.
To create the effect, go to Filter – Filter Gallery. Here you will be able to choose from many different filters that will add effects to your image. In this case, we need to add some distortion, so click on ‘distort – glass’ enter the settings you want to distort your image. In the example, we use the ‘canvas’ texture and duplicate the glass filter for more distortion.
To add more detail, use the spatter filter under ‘brush strokes’. This will make any smooth line look like ripped paper.
Curl the Paper
To curl the paper, create a selection with a smooth edge on the interior and a ‘ripped’ edge on the exterior. Invert the selection and use a soft-edged brush and paint black over the selected area.
Include a Background Image
To include a background image in the silhouette, first, select the black area with the magic wand tool and load the selection as a layer mask. Then place a background image under the silhouette image and you are done!