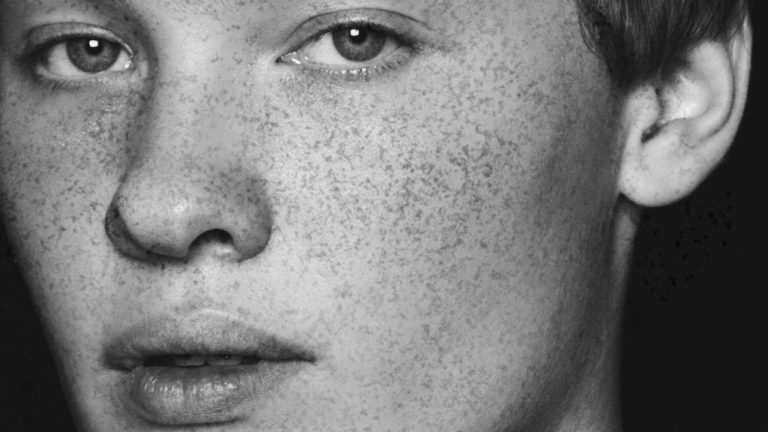
Creating a Custom Brush in Photoshop
In order to make freckles look real when applied in Photoshop we have to start with a texture that is organic and random. In this episode we choose to use a photo of granite as our base for creating freckles.
After choosing the best image we start to extract the “freckles”. To start we select the color range of the details we want to become the granite. After making a good selection we create a new layer and fill it with black. Then we create a new layer and fill it with white and place it under the black freckle layer. This will give us black freckles on a white background.
Next it is important to paint white on the edges of your document so that the brush pattern will not look like a rectangle with visible edges. If the edges are visible you will lose the illusion that this is a natural and random pattern.
Next we resize the document down to 600PX in width and create the brush template by going to Edit Define Brush Preset…
This gives you the shape of your brush but you will still need to alter some brush settings to make it perfect. For this brush we alter Shape Dynamics as well as Spacing.
Download the Phlearn Freckle Brush
Click here to download the custom brush we created in this episode. Brush is compatible with Photoshop CC and newer.
Applying the Freckles onto a Face
After creating your custom brush (which will only have to be done once) you are ready to start creating freckles. Choose a dark color and start to paint with your freckle brush on a new layer. Be sure to size the brush appropriately to your subject. The closer the subject is to the camera, the larger the brush will need to be.
It is best to create these effects in a a few different layers. Each layer will give a bit more depth and make the freckles look truly organic.
In this episode we show you how to paint the freckles over skin and then use a layer mask the fade the freckles away from areas they are not needed.
Completing the Effect
To finish off our freckle effect in Photoshop we group all of the freckle layer and place a layer mask on that group. We then paint black over areas like the eyes and mouth, making sure no freckles are visible.
Now it is time for you to try! Create your own freckle brush or download the Phlearn Freckle Brush.
———————————————————————————————–
Thanks for watching our free Phlearn Tutorials! If you enjoyed this video be sure to subscribe to our channel to receive free weekly videos.
Subscribe: http://goo.gl/LBIEQU
For more advanced Photoshop Tutorials be sure to check out our Phlearn PRO Tutorials. We offer the best Photoshop tutorials available online starting at just $14.99.
http://phlearn.com/pro-tutorials
———————————————————————————————–
Website: http://phlearn.com
Facebook: https://www.facebook.com/Phlearn
Google+: https://plus.google.com/u/0/116791098…