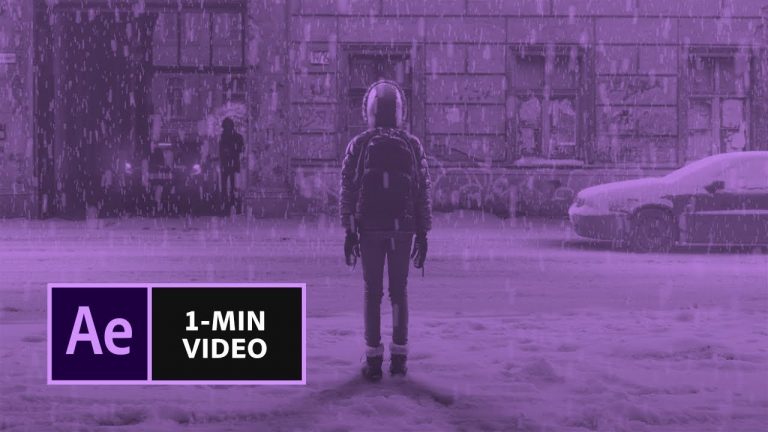
Learn how to simulate snowfall in your videos. Add depth by changing the amount of snow and rate of snowfall in the foreground and background.
Artwork by Erik Johansson
Note: The video clip in the practice files is different than what is shown in the tutorial, but the steps are the same.
Start from scratch, or download practice files [https://learndownload.adobe.com/pub/learn/aftereffects/field_mp4.zip] for a head start. Steps below.
Prep your project:
1. Create a new project in Adobe After Effects (File – New – New Project).
2. Import the Field.mp4 file (File – Import – File).
3. Drag the field footage in the Project panel to the Create a New Composition button at the bottom of the panel.
4. Rename the layer: Select it, right-click and choose Rename, and type “Foreground plate”.
Tip: If the column header displays “Source Name”, click it to switch it to “Layer Name”.
Create the snow effect:
1. Choose Layer – New – Solid. Name it “Foreground snow”. Click the chip color, set it to black (#000000), and click OK.
2. Click the Toggle Switches/Modes button at the bottom of the Timeline to show the Mode column. Switch the mode setting for the top (snow) layer from Normal to Screen.
3. Go to the Effects & Presets panel (Window – Effects & Presets) and type “snow” in the Search field.
4. Drag the CC Snowfall effect on to the Foreground Snow layer.
5. Set the following values in the Effect Controls panel:
• Flakes: 1000
• Size: 15
• Scene Depth: 2000
• Speed: 700
• Opacity: 70
• Background illumination – influence %: 70
Tip: Click the arrow next to Background Illumination to reveal more settings.
6. Duplicate the Foreground Plate layer (Edit – Duplicate) and rename it to “Background plate”.
7. Duplicate the Foreground Snow layer and rename it to “Background snow”. Drag the layers so they are in this order from top down: (1) [Foreground snow], (2) Foreground plate, (3) Background snow, (4) Background plate.
Direct the snowfall:
1. Select the Foreground Plate layer in the Timeline.
2. Choose the Pen tool and click around the woman’s body to draw a mask around her.
Note: This creates Mask 1, which you’ll use to ensure that the background snow won’t fall in front of the woman in the foreground.
3. Draw another mask (four-point rectangle) around the lower third of the entire scene to create Mask 2.
4. Optional: Select the Foreground Plate layer and press M twice quickly to show all Mask properties.
Set values for Mask 1:
• Blend Mode: Add
• Mask Feather: 40, 40
• Mask Expansion: 5
Set values for Mask 2:
• Blend Mode: Add
• Mask Feature: 40, 40
• Mask Expansion: 5
5. Select the Background Snow layer and set the following values in the Effect Controls panel:
• Flakes: 30000
• Size: 5
• Scene Depth: 5000
• Speed: 350
• Opacity: 70
• Background illumination – influence %: 70
Note: You’ll see a lot of snow falling slowly in the background behind the woman — and less, but larger, snow falling in the foreground in front of the woman.
6. Press the spacebar to preview the effect.
That’s it!
To learn more, visit our After Effects Tutorials page: https://adobe.ly/2jUyqoN
Subscribe: https://www.youtube.com/user/adobecreativecloud?sub_confirmation=1
LET’S CONNECT
Facebook: http://facebook.com/adobecreativecloud
Twitter: http://twitter.com/creativecloud
Instagram: http://www.instagram.com/adobecreativecloud/
Adobe Creative Cloud gives you the world’s best creative apps so you can turn your brightest ideas into your greatest work across your desktop and mobile devices.