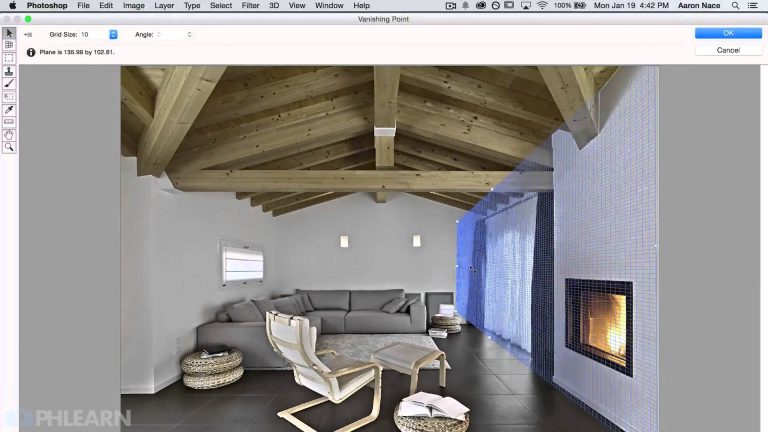
In today’s episode, Learn How to Use the Vanishing Point Filter in Photoshop! Trust us, it will take all of your perspective troubles away!
After duplicating the background layer, copy whatever you will be adding to your image onto your clipboard. Then, simply go to Filter – Vanishing Point. Create a box around the plane that you will be copying into. Be sure to follow the lines of the image- for example, if you will be pasting something onto a wall, carefully follow the lines of both the floor and the ceiling. Then paste your object from the clipboard, and drag it right onto your perspective box.
You will be able to move your object all around in that box, and it will stay perfectly in perspective.
———————————————————————————————–
Thanks for watching our free Phlearn Tutorials! If you enjoyed this video be sure to subscribe to our channel to receive free weekly videos.
Subscribe: http://goo.gl/LBIEQU
For more advanced Photoshop Tutorials be sure to check out our Phlearn PRO Tutorials. We offer the best Photoshop tutorials available online starting at just $14.99.
http://phlearn.com/pro-tutorials
———————————————————————————————–
Website: http://phlearn.com
Facebook: https://www.facebook.com/Phlearn
Google+: https://plus.google.com/u/0/116791098…