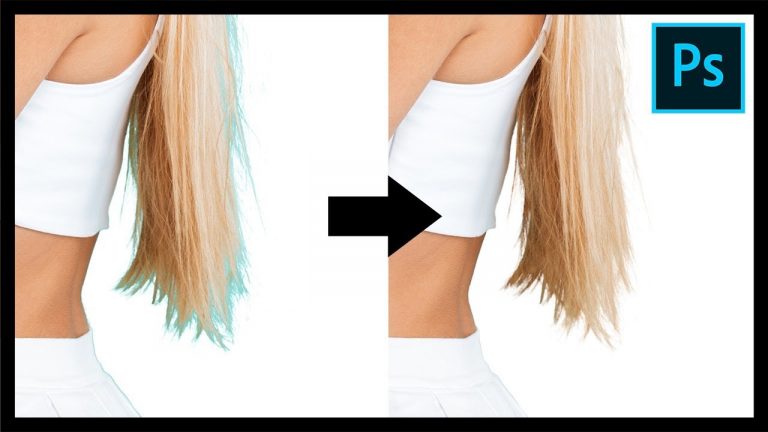
Remove Annoying Edge Fringe After Hair Masking in Photoshop! Learn how to use Clipping Masks to remove color edges or fringes to select hair better and create a cleaner composite. In this tutorial, we will use several techniques to erase or replace the fringe in Photoshop.
Using simple tools like the brush tool, and the clone stamp tool, after selecting the hair, we will learn how to cover the unwanted edges in a realistic fashion. I hope this tutorial helps you. Thank you so much for watching 🙂
► DOWNLOADS:
1. Sample Image: http://piximp.com/4AEQ
2. Finished PSD: http://piximp.com/4AER (Only for our Patreon Family)
► HELP US CREATE MORE FREE VIDEOS:
Support us at Patreon: https://www.patreon.com/piximperfect
► SHARE: https://goo.gl/IUhnUl
►LET’S CONNECT:
Facebook: http://facebook.com/piximperfect
Twitter: https://twitter.com/piximperfect
Instagram: https://www.instagram.com/piximperfect
Google+: https://plus.google.com/+UnmeshDinda