Home Graphic Photoshop How to Create an HDR Image in Lightroom

How to Create an HDR Image in Lightroom

What is HDR?

HDR stands for High Dynamic Range. This means that there are more highlights and more shadows that stretch beyond the normal range of a camera. Typically, either the bright parts of an image will be exposed or the dark parts of the image will be exposed. Creating a High Dynamic Range Image allows for the full potential of each end of the spectrum.

When shooting for an HDR photograph, be sure to use a tripod and not bump your camera at all. You will want to bracket for each exposure that you will later combine, while keeping your camera in the exact same place. This allows for seamless merging later on in Lightroom.

Creating the Photo

First, make sure that your version of Lightoom has been updated (If you have the Creative Cloud). HDR in Lightroom is a new feature of CC 2015. Next, load your images into Lightroom.

Then, Shift click on all of your exposures. Right click and go to Photo Merge – HDR.

It will take a moment for the next window to come up. When it loads, check Auto Align (this makes sure that all of your photos are in the exact same place and will eliminate movement) and Auto Tone (Brings in information from both the highlights and the shadows). You are also able to choose the amount of “Deghosting” to apply to your image. An example of ghosting would be cars passing by while you were shooting, or a person walking in front of the camera. If you have a lot of that going on in your images, it would be best to select Medium or High Deghosting. If you don’t have any at all, there is no need for it and you can select “None.”

When you are satisfied with how your HDR image is looking, click Merge.

The big advantage that Lightroom has over Photoshop for creating HDR images is that it creates a new RAW file. This allows you to go in and edit the photo as you normally would, but with a huge dynamic range!!

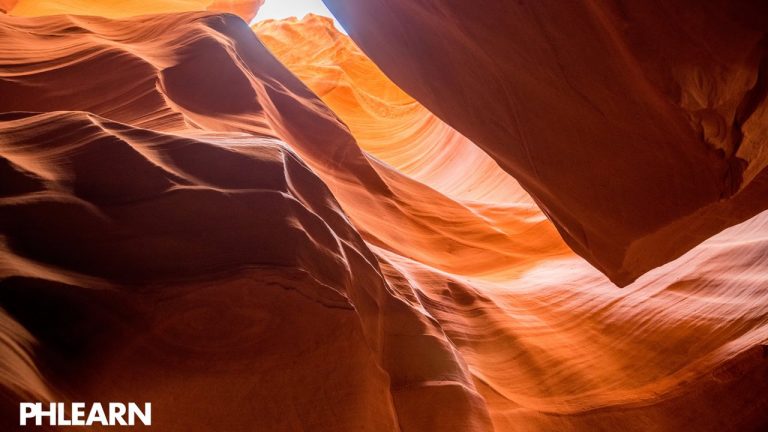
After pressing Merge, you will be left with a single RAW file in .dng form. From here, you can go to the Develop module and edit your image. For this specific image, we adjust the exposure, clarity, vibrance, as well as the black and white points. To change those points, hold the Shift key and double click on the words “Whites” and “Blacks.” You can always go back and edit these as well, so don’t worry that it is a permanent edit!

That’s it! If you would prefer to edit your photo in Photoshop as opposed to Lightroom, feel free to do so. Just make sure to complete the first steps of actually merging the HDR image in Lightroom, because the RAW image that it produces can be very useful!

———————————————————————————————-

Thanks for watching Phlearn! If you enjoyed this video be sure to subscribe to our channel so you don’t miss a thing!

Subscribe: http://goo.gl/LBIEQU

For more advanced Photoshop Tutorials be sure to check out our Phlearn PRO Tutorials. We offer the best Photoshop tutorials available starting at just $24.99.

http://phlearn.com/product-category/pro-photoshop-tutorials

———————————————————————————————-

Stock Images provided by: http://us.fotolia.com/

Comments

comments

Latest articles

Easy Ways to Select Artwork in Illustrator | Adobe Creative Cloud

Explore a variety of methods for making selections in your projects to make creating and editing faster and easier in Adobe Illustrator. To download the sample files and learn more about Artwork selection methods, click on https://adobe.ly/2AXMTv1 Subscribe: https://www.youtube.com/user/adobecreativecloud?sub_confirmation=1 LET’S CONNECT Facebook: http://facebook.com/adobecreativecloud Twitter: http://twitter.com/creativecloud Instagram: http://www.instagram.com/adobecreativecloud/ Adobe Creative Cloud gives you the world's best creative apps so you can turn your brightest ideas into your greatest work across your desktop and mobile devices.

Transform Artwork Freely in Illustrator Using Puppet Warp | Adobe Creative Cloud

Learn how to transform artwork using the Puppet Warp and Free Transform tools in Adobe Illustrator. To download the sample files and explore more tutorials on Artwork selection in Illustrator, go to https://adobe.ly/2vul87Y Subscribe: https://www.youtube.com/user/adobecreativecloud?sub_confirmation=1 LET’S CONNECT Facebook: http://facebook.com/adobecreativecloud Twitter: http://twitter.com/creativecloud Instagram: http://www.instagram.com/adobecreativecloud/ Adobe Creative Cloud gives you the world's best creative apps so you can turn your brightest ideas into your greatest work across your desktop and mobile devices.

How to Make a Custom Brush with Adobe Capture CC | Adobe Creative Cloud

Create a brush from a simple sketch. Start from scratch, or download practice files [https://learndownload.adobe.com/pub/learn/mobile-apps/make-a-custom-brush.zip] for a head start. Steps below. Prep your project: 1. Save the practice image (source-image.jpg) provided here to the Camera Roll on your mobile device, or use your own. 2. Download the Adobe Capture CC mobile app from the App Store for your iOS device, or from the Play Store for you Android. Open the app and sign in with your Adobe ID. 3. Tap Brushes from the top menu. Create a custom brush: 1. Tap Brushes from the menu. 2. Tap the image icon at the bottom, then tap Camera Roll. 3. Choose an image from your Camera Roll. 4. Tap areas to erase unwanted marks. Tap the checkmark. 5. Drag the resize handles (white dots) to position the blue box around the part of the image you want to use as the brush. 6. Tap Styles from the main menu. Tip: For the example in the video, we chose a style in the Photoshop CC & Adobe Sketch Brushes section. 7. Tap Presets. Adjust the Size, Spacing, and other settings as you like. Tap Done, or the right arrow on Android devices. 8. Choose the appropriate Creative Cloud Library. Tap Save. Apply style in Adobe Photoshop CC: 1. Open artwork in Photoshop. 2. Choose the Brush tool. 3. Choose your new brush from the Libraries panel (Window – Libraries). 4. Use the new brush to enhance your creation. That's it! To learn more about Adobe Capture and Adobe's other mobile apps, visit our Mobile apps Tutorials page. Subscribe: https://www.youtube.com/user/adobecreativecloud?sub_confirmation=1 LET’S CONNECT Facebook: http://facebook.com/adobecreativecloud Twitter: http://twitter.com/creativecloud Instagram: http://www.instagram.com/adobecreativecloud/ Adobe Creative Cloud gives you the world's best creative apps so you can turn your brightest ideas into your greatest work across your desktop and mobile devices.

Bring Dull Photos to Life Using Lightroom CC | Adobe Creative Cloud

Learn how to enhance sharpness, detail, and textures using Clarity and Dehaze sliders in Lightroom CC. Download sample files and learn more about image editing techniques in Lightroom: https://adobe.ly/2wbDUS0 Subscribe: https://www.youtube.com/user/adobecreativecloud?sub_confirmation=1 LET’S CONNECT Facebook: http://facebook.com/adobecreativecloud Twitter: http://twitter.com/creativecloud Instagram: http://www.instagram.com/adobecreativecloud/ Adobe Creative Cloud gives you the world's best creative apps so you can turn your brightest ideas into your greatest work across your desktop and mobile devices.

Comments

comments