Our #1 PRO Tutorial ever is now on Sale! https://phlearn.com/popular
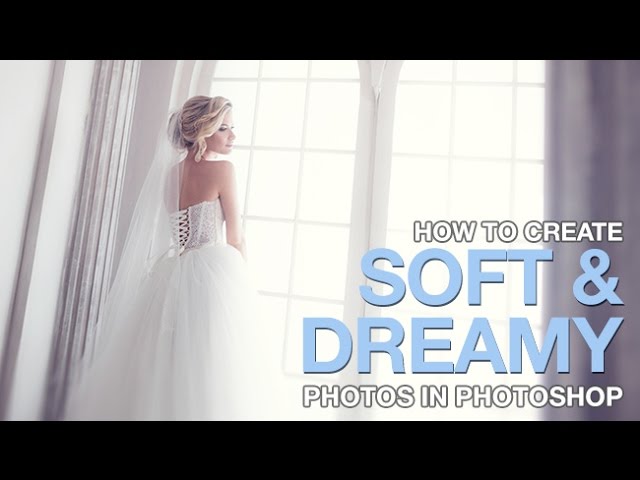
How to Create Soft & Dreamy Photos in Photoshop
Take photos to the next level by adding a soft and dreamy look – perfect for weddings, engagements and family photos.
Use Iris Blur to Draw More Attention to the Subject
The soft and dreamy look is done by adding a slight blur to the edges of a photo and adding a soft blur to the light in an image.
To add a slight blur to the edges of a photo, first start by duplicating the background layer and converting it into a smart object by right-clicking on the thumbnail and selecting ‘Convert to Smart Object.”
After converting the layer into a smart object, go to ‘Filter – Blur Gallery – Iris Blur’. In this dialog, you can choose how much blur you would like applied by sliding the blur slider on the right. The controls in the center of the screen allow movement of the blur center, the shape of the blur and feathering.
Choose a subtle blur around the edges of the photo for the soft dreamy look.
How to Make Light Soft & Dreamy
After applying an Iris Blur to the photo, it is time to blur the light only. To begin, create a selection out of the light in the photo by going to ‘Select – Color Range’ and clicking on the light source with the eyedropper tool.
The preview will be white in selected areas and black in non-selected areas. Be sure to adjust the slider to just include the light in the selection.
After turning this area into a selection, create a new layer and either fill it with white or duplicate the selected area from the background. The goal here is to have just the light from the photocopied onto a new layer.
Next, convert the layer with just the light into a Smart Object by right-clicking on it and going to ‘Convert to Smart Object’. We want it to be a smart object so that we can use ‘Smart Filters’. Smart Filters can be changed at any time, making them more versatile than regular filters.
After converting into a Smart Object, apply a blur by going to ‘Filter – Blur – Gaussian Blur’ and choose a radius to expand the light. Adjust the opacity of the layer to suit the image and duplicate it if more of the effect is necessary.
How to Color Tone for the Soft & Dreamy Look
Once the background has been blurred using an Iris Blur and the light has been blurred using a Gaussian Blur, it is time to color tone the image.
In this example, we use a Levels Adjustment layer and edit the Blur Channel – adding more blue to the shadows and yellow to the highlights.
Feel free to play around with color, each photo is different and requires color toning unique to that photo. Most of all, have fun!
VISIT PHLEARN.COM FOR MORE FREE TUTORIALS
SUBSCRIBE TO OUR CHANNEL FOR MORE FREE TIPS AND TRICKS
http://www.youtube.com/subscription_center?add_user=phlearnllc
GET FREE TUTORIALS IN YOUR EMAIL + DISCOUNTS ON OUR PRO TUTORIALS!
https://phlearn.com/mail
BUY THE TABLET AARON USES! https://phlearn.com/tablet
LET’S BE FRIENDS!
Instagram ► https://www.instagram.com/phlearn/
Facebook ► https://facebook.com/phlearn
Twitter ► https://twitter.com/phlearn
Google+ ► https://plus.google.com/116791098059215639405
Phlearn ► https://phlearn.com