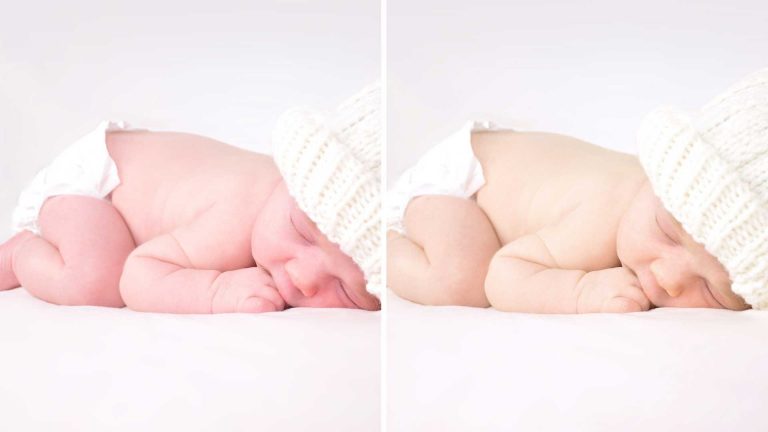
How to Fix Baby Skin Color in Photoshop
Sometimes babies and newborns will have too much red or blue in their skin, which doesn’t look great in photos. Learn how to use a reference image to analyze skin tone and apply those changes to correct skin tone!
Use a reference image to compare color
It helps to have a reference image to judge ‘good’ skin tone. To find a reference image, search on stock websites like Adobe Stock or just browse through google images. You will only be using the reference image to analyze color, so you don’t need to find the ‘perfect’ photo—just one with good skin color.
To properly analyze skin tone it helps to have a large area of ‘averaged’ color. To get the average color of an area of skin first make a selection around the skin using the marquee tool. Then go to Filter – Blur – Average. This will take all of the color in the selection and average them into one color – perfect for analyzing average skin tones.
Do this for both the sample image and the image you wish to edit.
How to color match with a Hue/Saturation layer
After creating ‘average’ skin tone blocks in Photoshop, click on the color picker and use the eyedropper to analyze the color. Look for differences in HSL (Hue, Saturation and Lightness). In this case the Hue was different by 17degrees.
To correct skin color, create a Hue/Saturation adjustment layer and click on ‘reds’. Next change the values to match the target skin tone. In this example we change the hue by 17 degrees, saturation +2 and Value by -5.