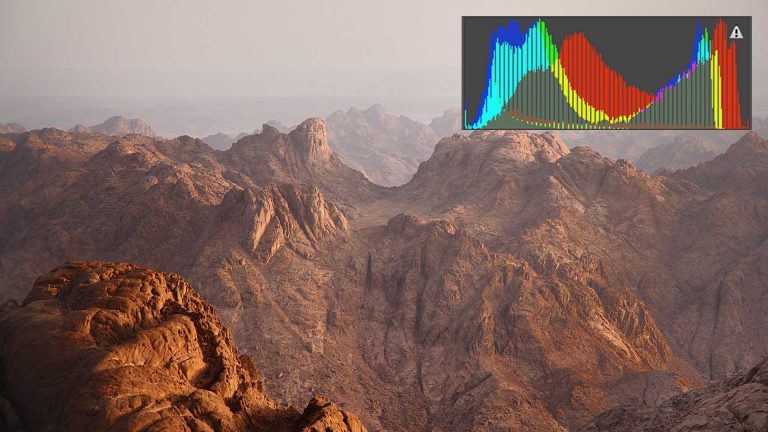
How to Use the Histogram in Photoshop
The histogram is a graph that displays exposure and color information on your images. It can be used to correct exposure, color, and evaluate missing information. This episode explains how to read the histogram and how to fix common issues using ‘Levels’ adjustment layers.
How to Use the Histogram in Your Camera
The histogram in photoshop mirrors the histogram on a modern DSLR. Because a histogram displays color and light information, it is very useful for correcting exposure. A common problem photographers face is over-exposure or under-exposure. An image that is either over-exposed or under-exposed will result in a lack of information in the highlights or shadows. Images that are over-exposed are commonly referred to as ‘blown out’.
Looking at the image of an LCD, it can be difficult to properly see the exposure of an image. The histogram displays exposure information, and when properly used can aid in creating a proper exposure without ‘blown out’ highlights or completely black shadows.
Levels and Histogram
The histogram is a great tool for understanding exposure and color in an image, but it won’t change exposure values in an image – that is where ‘Levels’ come in. Levels are used to change the white point, black point and mid-tones of an image.
For instance, if and image doesn’t contain true blacks and the histogram is shifted to the right, increasing the black levels in the image will compensate for the lack of blacks and correct the exposure. When adjusting exposure it is always best to use a RAW 16-bit image, rather than an 8-bit JPEG.