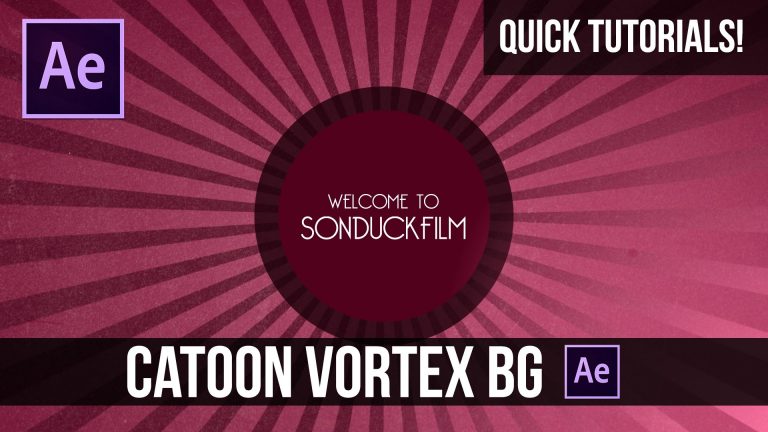
In this quick tutorial we will create a quick cartoon Vortex background in After Effects. Then we will add animation make make an intro!
Visit our website https://www.sonduckfilm.com for more tutorials, giveaways and film and photo gear!
Download Project Files Here:
Previous Quick Tutorials:
Picture Slideshow Presentation: https://youtu.be/KQxLTgBZcYg
Custom Distortion: https://youtu.be/Ri51–HlLck
Social Media:
Drop a like on Facebook: https://www.facebook.com/sonduckfilm
Hit me up on Instagram: http://instagram.com/sonduckfilm
Connect with me on Linkedin: https://www.linkedin.com/in/joshnoel
Follow me on Twitter: https://twitter.com/SonduckFilm
Script:
Here we have a 1920×1080 Composition. Let’s start off by creating a new solid and calling it BG. With the solid selected, go to effect – generate – gradient ramp. Set the Ramp Shape to Radial Ramp and move the start color crosshair to the center of the Comp. Then change the two colors to create an interesting gradient. Then go to layer – new – shape layer – Click on the rectangle tool and draw out a vertical rectangle shape. Make sure the layer is selected and go to Composition – Pre-Compose. Move all Attributes into new comp. Open up the shape layer comp and go to Composition and click on composition settings. Make the comp double the size of your main comp. Then Open up the contents of the share layer and delete or turn off the stroke. Then click on add and click repeater. Expand the repeater and set the number of copies to fill the screen. Then go to the transform properties and move the rectangles over to the left edge of your comp. Expand the copies of the repeater just enough to fill the entire comp. Make sure your shape layer is selected and go to effect – Distort – Polar coordinates. Set the Type of conversion to Rect to Polar and set the value to 100%
Back in the main comp, copy the gradient Ramp of the BG and paste it on the shape layer. Set the background gradient to be a little darker. Let’s drag in a texture and set it to screen and lower the opacity. Set the shape layer comp to Alpha Inverted Matte and turn the texture back on.
Let’s create some animation. Go back into the shape layer comp and click the stop watch. Set the number of copies to zero and move forward in time. Create enough copies to fill the circle. Set the keyframe to be an easy ease keyframe.
Back in the main comp, go to the shape layer hit R on your keyboard to bring up rotation. Keyframe the rotation to animate.