Note: This is an older tutorial and many features have changed as Character Animator is still in Beta. A more comprehensive and updated tutorial can be found here: https://youtu.be/_smLXODTd6U
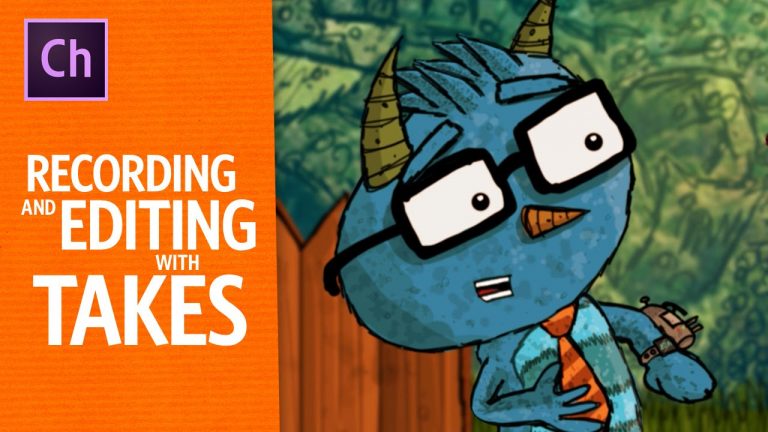
Adobe Character Animator gives you several tools to help fix mistakes or fine-tune a performance. Each behavior has its own arm/disarm button, so you can record one part at a time, like face, lip sync, dragging hands, and so on. You can record as many takes as you want, and take blending gives you a way to seamlessly blend several performances together. Slow motion recording lets you record at slower speeds so they’ll be quicker and more fluid at normal playback speed. And “Split Lip Sync Into Visemes” will break down your dialogue into individual mouth artwork shapes, giving you frame-perfect precision to ensure everything lines up correctly.
Download the free example project and puppets here: http://adobe.ly/297v7Wg
Sections:
0:05 Intro
0:30 Arming/Disarming Behaviors
1:13 Take Blending
2:49 Lip Sync Options
3:40 Slow Recording
4:11 Ending
Check out more tutorials here: http://adobe.com/go/chtutorials
Download a free trial of Adobe After Effects & Character Animator here: http://adobe.com/aftereffects
Subscribe: http://www.youtube.com/subscription_center?add_user=okaysamurai
Twitter: https://twitter.com/okaysamurai
Facebook: https://www.facebook.com/okaysamurai
Website: http://okaysamurai.com
I work as a designer at Adobe, but thoughts and opinions are my own.
zdroj: YouTube